Azure Front Door add custom domain & certificate
This is my third Azure Front Door Post. Already we created an Azure Front Door to scale and secure our web apps, and we used Web Application Firewall (WAF) rules to protect our web apps. At this post we will see how to add a custom domain name and our certificate to the Azure Front Door.
Azure Front Door provides ssl certificates and management for the .azurefd.net domain. But in most cases we will need to add our custom domain name and of cource our certificate.
To add a custom domain name and our certificate we need:
- The public certificate in PFX format
- Register the Azure Front Door Service Principal
- An Azure Key Vault
- Access to the Public DNS of our custom domain
Azure Key Vault
Azure Front Door imports custom certifiated only from Azure key Vault. So we need to create a Key Vault and provide access to the Azure Front Door Service Principal. First register the Azure Front Door Service Principal using this script: (I prefer cloud Shell)
New-AzADServicePrincipal -ApplicationId "ad0e1c7e-6d38-4ba4-9efd-0bc77ba9f037"
Result:

Then search the Marketplace and create a key Vault

At the first page fill the name and region and go to the Next Page, Access Policy and press “+ Add Access Policy” to add a new access policy. At the certificate permissions select the get secret & get & list certificates and authorities. For principal select the “Microsoft.Azure.Frontdoor” and add.

Next at the Network Connectivity method select all networks, or if you select selected networks remember to allow the Azure Front Door Bckend IP Range, 147.243.0.0/16. For updated IP range check the https://www.microsoft.com/download/details.aspx?id=56519
Once the Key Vault is ready, open it, go to Certificatess -> Generate/Import

Slect Import and upload your certificate.

Edit the Front Door
Once the certificate is uploaded successfully, go to the Azure Front Door designer. At the Frontend/domains press the + to add the custom domain

Write your custom host name and the form will inform you to create a CNAME to point to the front door. You need to do this first to proceed.

After that enable the Custom Domain HTTPS and select use my own certificate

Select the KeyVault, the certificate and the version and press add adn then Save.

The process will start, it will check the certificate and it will import it to the Front Door.
Now, since we have the SSL termination at the Azure Front Door, we can forward the request unencripted to our backend, this is called SSL Offload. To do this update routing rule to accept HTTPS only requests, select for frontends the custom domain and for backend forwarding protocol HTTP only


Then go to the Web App and turn off the HTTPs Only.

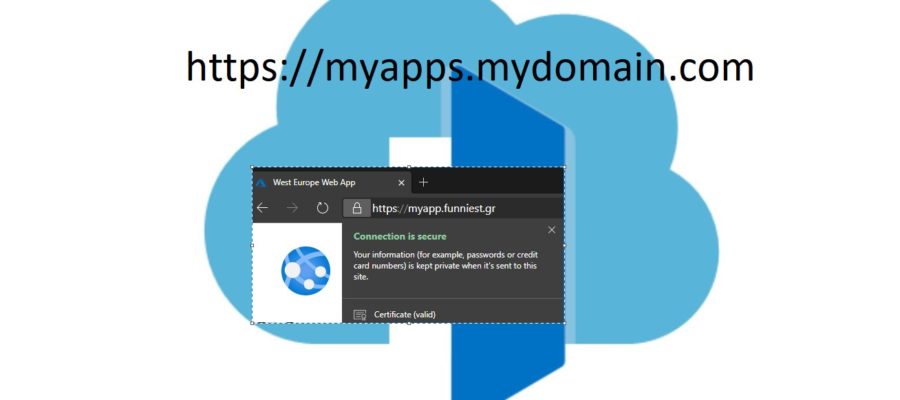
We can now check our web app at the custom domain: https://myapp.funniest.gr

Don’t forget, we have locked our backend web apps with access restriction to allow only the Front Doors backend IP range 147.243.0.0/16

Pantelis Apostolidis is a Cloud Solutions Architect at Microsoft and an ex Microsoft Azure MVP. For the last 15 years, Pantelis has been involved to major cloud projects in Greece and abroad, helping companies to adopt and deploy cloud technologies, driving business value. He is entitled to a lot of Microsoft Expert Certifications, demonstrating his proven experience in delivering high quality solutions. He is an author, blogger and he is acting as a spokesperson for conferences, workshops and webinars. He is also an active member of several communities as a moderator in azureheads.gr and autoexec.gr. Follow him on Twitter @papostolidis.

One comment